.
{Did you know it's now super easy to pin images from ReMarkable Home?! Just hover over any image on the site and you will see the Pinterest icon show up in the top right hand corner. Just click and PIN ....even if you are on the homepage. The correct link will be pinned}
Showing posts with label cake. Show all posts

3.04.2013

Cookie of the Week: Bananas Foster Whoopie Pies with Rich Caramel Filling

I. Adore. Cookies.  I love them.  ALL of them.  I cannot ever remember eating a cookie I didn’t like.  Well, I guess I’ve had cookies that weren’t baked correctly or just weren’t a great recipe (like a chocolate chip cookie recipe), but as far as different types and flavors of cookies I love them all.  I have oodles of cookie recipes in my recipe book cupboard.  Entire cookbooks devoted to cookies, recipes from magazines, recipes I’ve printed off the internet, recipes from friends.  I have tons of them.  And I want to try them all!  But, the problem I have is that when I make cookies, I EAT cookies.  And I can’t stop eating them.  Until they’re all gone.  It’s a problem that I really need to learn to overcome. 

So, in order to practice my self control I’ve decided I am going to make one new cookie recipe each week and post it here on my blog each Monday!  I will have no more than two of each cookie!  Girl Scout’s Honor!  If the recipe makes a large batch, then my friends will be having a lot of treats left on their doorsteps!  This is my plan and I am sticking to it.

One delicious Cookie Recipe featured Every Monday @ ReMarkableHome.net

And now for my first cookie recipe!

Bananas Foster Whoopie Pies with Rich Caramel Filling

Ok, So I guess they’re not technically cookies, but I had a bunch of overripe bananas and I had bought a Whoopie pie pan so I just really wanted to make something with those.  I had also picked up a bag of caramel bits (the ones you can use to make caramel apples without unwrapping caramel candies) and wanted to see how they would work stirred into a batter.  So, I came up with these:

Cookie of the Week- Bananas Foster Whoopie Pies with Rich Caramel Filling {ReMarkableHome.net}
(recipe below the break)

2.23.2013

Moist Chocolate Fudge Cake with THIN MINT Frosting {Recipe @ www.ReMarkableHome.net}

Thin Mint Bundt Cake

Last night I went to a ladies’ church function where we share recipes and bring the food to be sampled.  Our theme for the night was chocolate, so I knew I needed to make something with chocolate.  I thought it would be a good idea to kill two birds with one stone and make a St. Patrick’s Day dessert.  I have a fantastic chocolate fudge Bundt cake recipe, so I decided to change it up a bit to make it minty and green.  The result was this Thin Mint Chocolate Fudge Cake......

4.12.2012

Sugar Apron Cakes

I was contacted by a lady named Cheryl who told me she had made a cake for a shower that was inspired by my Little Man baby shower that I threw last year.  She sent me a picture as well as a picture of an awesome Harry Potter cake she had made.  She is located in Heber, Utah.  If you live there and are in need of a great cake I would recommend checking out her site, Sugar Apron Cakes!

40021_146991625324596_113668088656950_344888_6206847_n-1

image

2.28.2012

HARRY POTTER BASH {Party}

I have a dear friend that I have known since we were both pregnant about 10 years or so ago.  We both had boys within a few weeks of each other.  Her first, my second.  Her name is Christene, and she is a total sweetheart.  She always has a smile on her face and a warm hug when you see her.  I just love her.  She is also very talented.  A few months ago she threw an amazing Harry Potter party for her son.  I asked her to share her party here on ReMarkable Home and she graciously accepted.  Enjoy!

Hey there! This is Christene from WhipperBerry. I’m so excited to have the chance to visit here at ReMarkable Home! I love the work that Emily does and have admired her party throwing and home décor skills since the moment I stepped into her beautiful home. Not only is Emily a gifted girl in home design, she is also a great friend. Thanks again for having me, Emily!

Late in August, my son turned 9 years old. He made it his goal to finish reading the Harry Potter series before the final movie premiered. By the beginning of summer he had accomplished it with flying colors. Deep in my heart I am a true HP nerd. I love the series, the characters, the whole magical world. It didn’t take much arm twisting for us to decide on an HP theme for his ninth birthday.

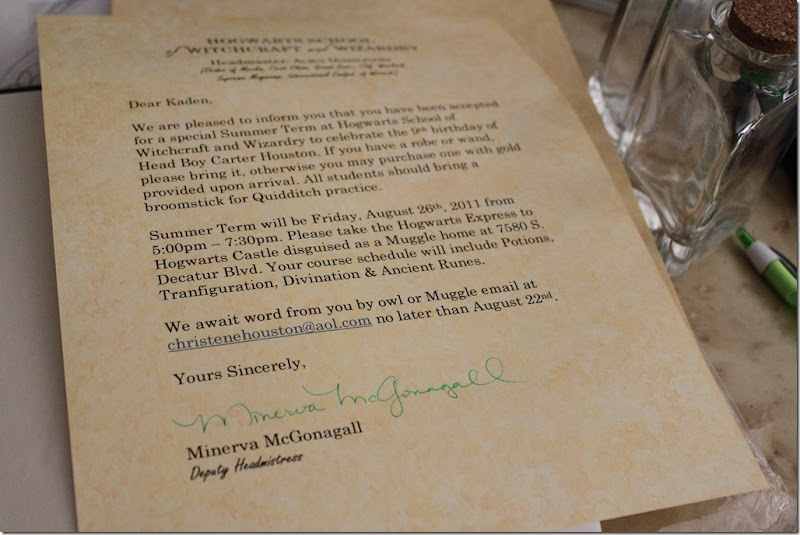
It all began a couple weeks before the party. We made delightful little invitations to resemble the letter Harry got telling him he was going to Hogwarts. We wanted the kids to feel like they were making the trip to the castle themselves.
 8-11 Summer & Party 1796

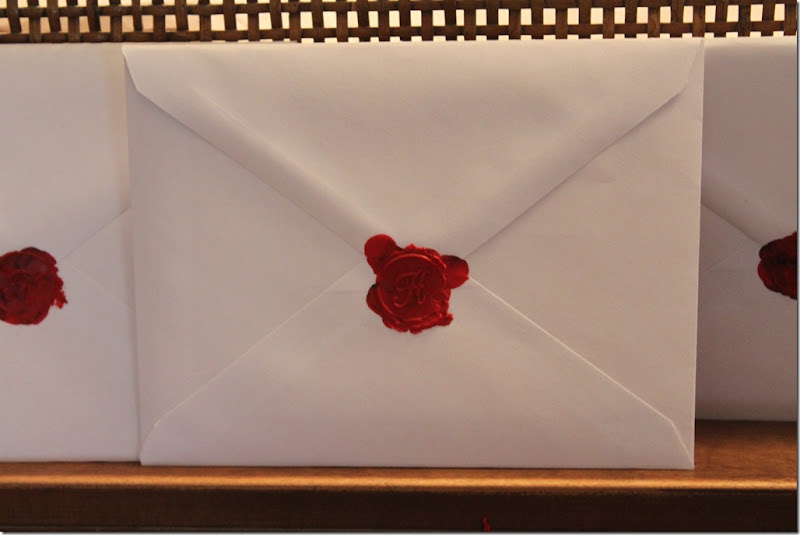
We printed the letter on parchment looking paper, signed Professional McGonagall’s signature in green ink, addressed and sealed them with a wax seal. That was super fun! I now want to seal all my letters this way!8-11 Summer & Party 1798
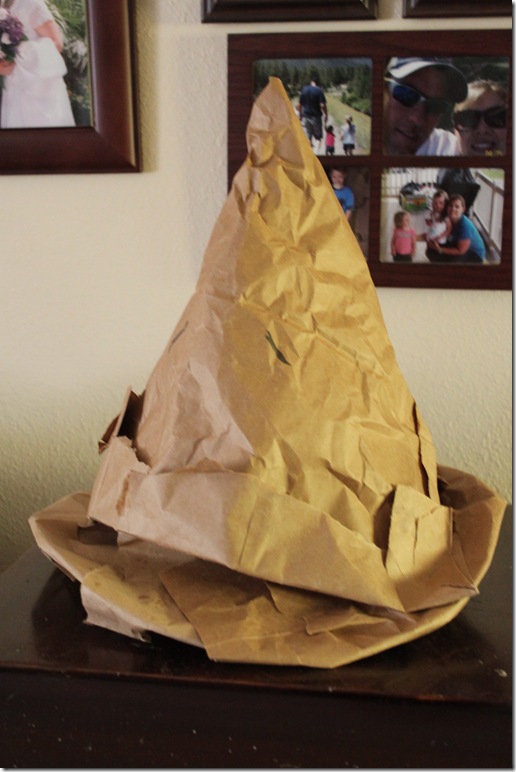
Next I made our Sorting Hat. If you remember, the Sorting Hat was old and patched. I used an old cowboy hat for the base and taped and stapled ripped pieces of a paper bag until it looked pretty good.
 8-11 Summer & Party 1806

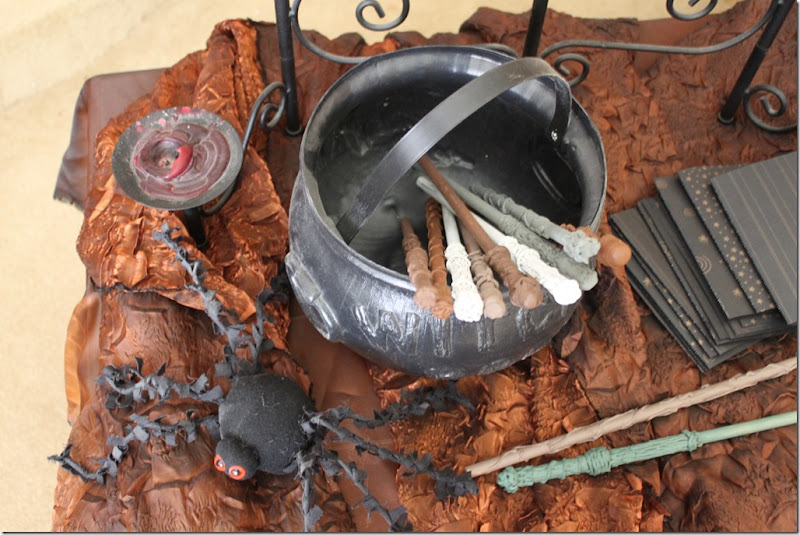
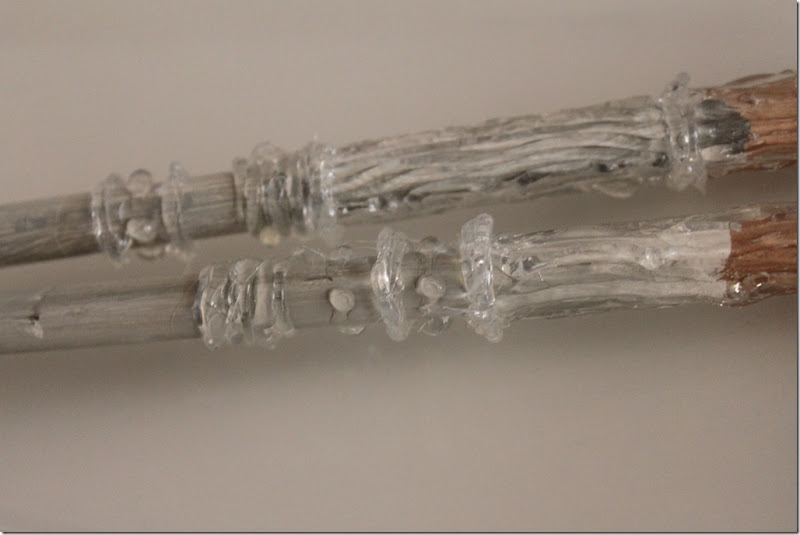
Wands were the following project and one I could have done for days! I read an idea on Pinterest about creating wands with hot glue. We painted our wooden dowel base (you can get these for about a $1 for 6  at a craft store) and then began making dots and squiggles with my hot glue gun on one of the dowels. Within moments, they looked something like this
8-11 Summer & Party 1841

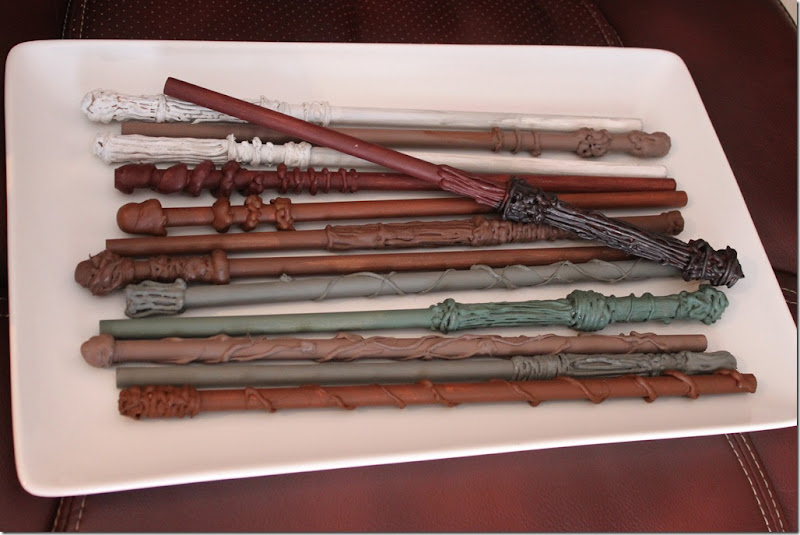
After painting they looked stunning! I couldn’t believe what a little hot glue could do! Here’s our lot:
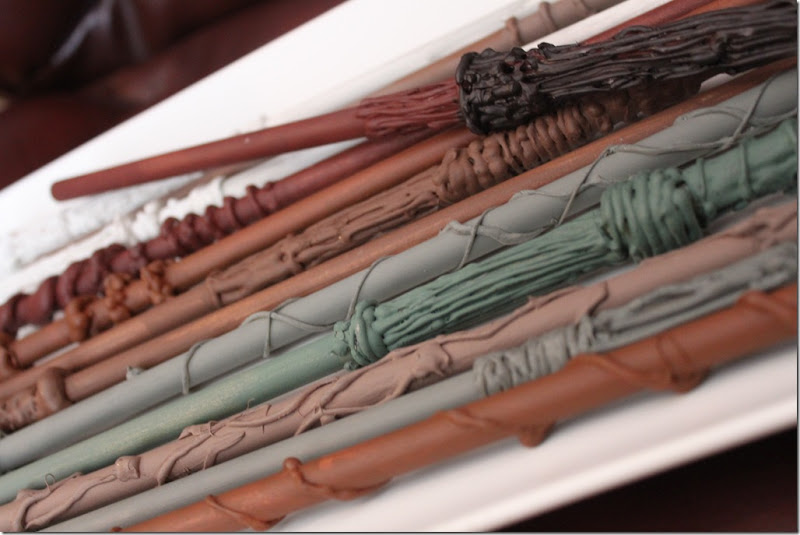
8-11 Summer & Party 1847 8-11 Summer & Party 1850

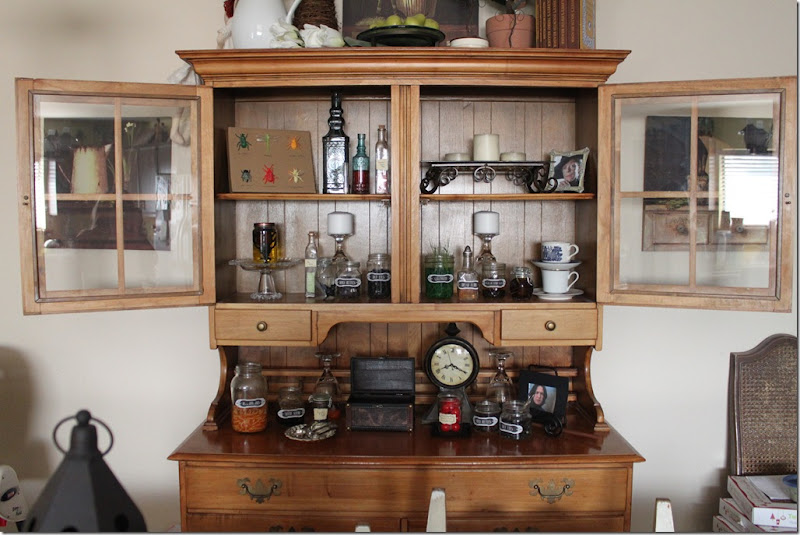
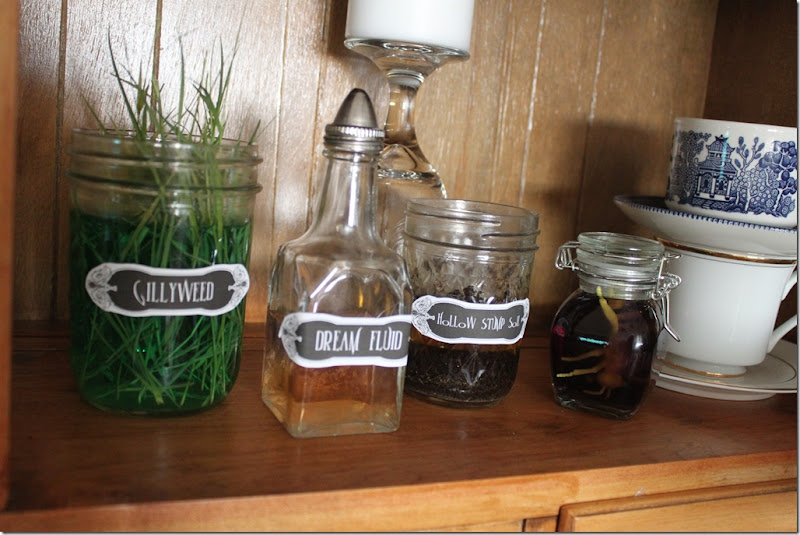
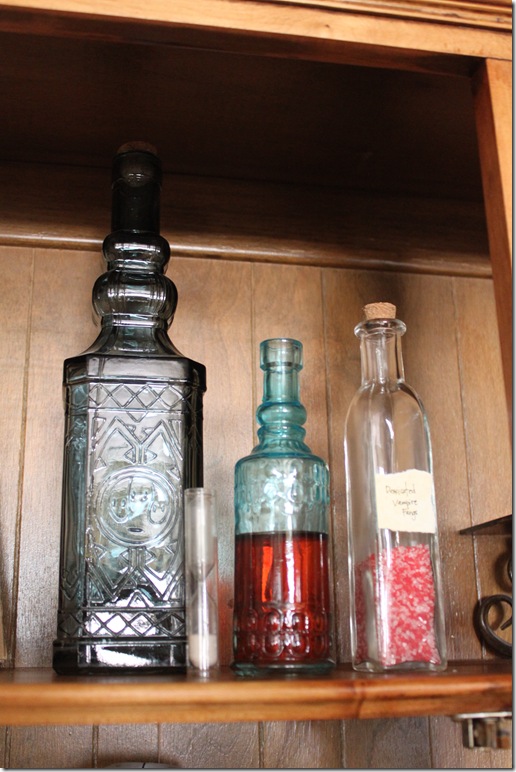
Let me tell ya, everyone needs to make a wand once! My next goal was to create a Potions Cabinet that would be Snape-worthy and just a little creepy. Using a handful of Glitter Bugs from the Dollar Store, I made a specimen board,8-11 Summer & Party 1804
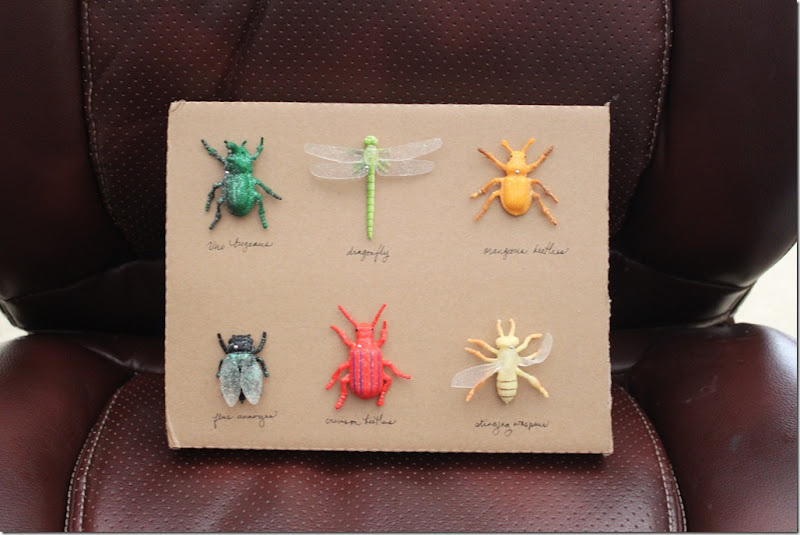
pickled and labeled other bugs and things to make the whole thing look just a little spooky. Here’s how it turned out:
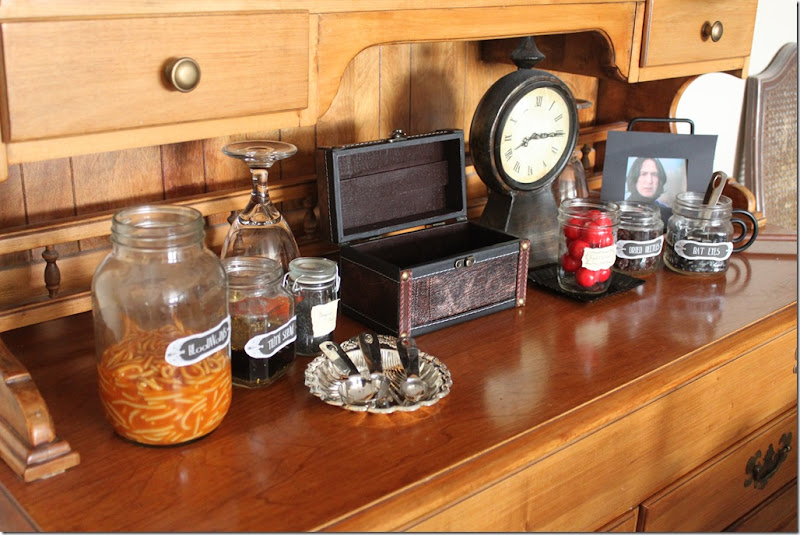
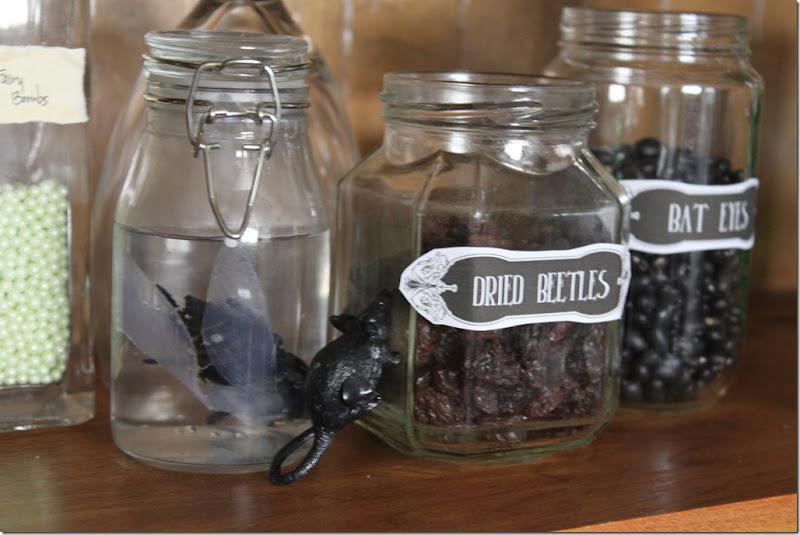
9-11 pics 0069-11 pics 0129-11 pics 017

9-11 pics 0139-11 pics 016

I tucked a few photos in the entry to welcome our visitors

9-11 pics 019

And we were ready for action!

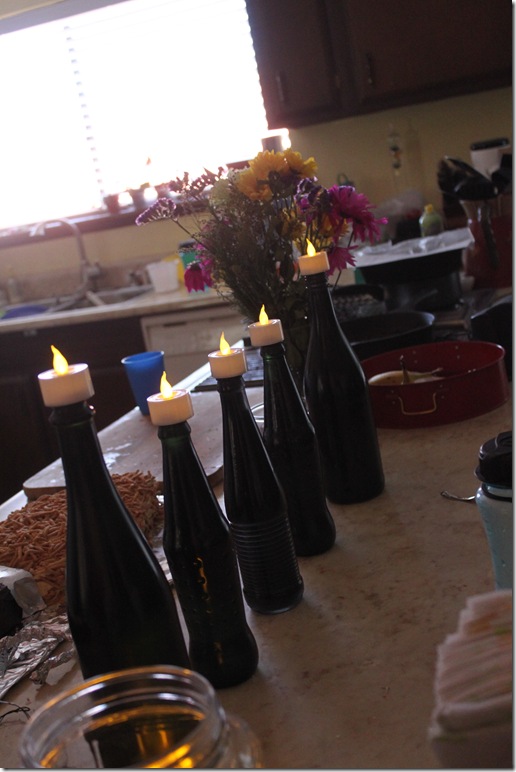
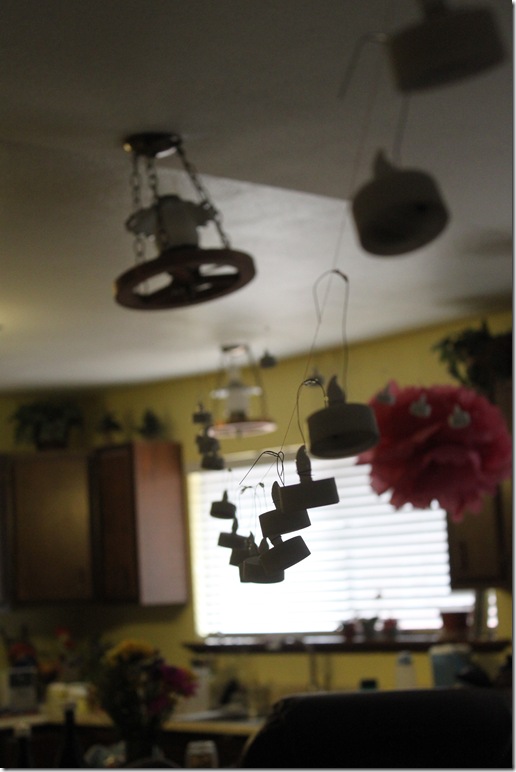
The day of the party, our ceiling was glittering with over 100 little battery operated votives we’d strung up with fishing line and wire hooks. It looked AWESOME!
8-11 Summer & Party 1890 

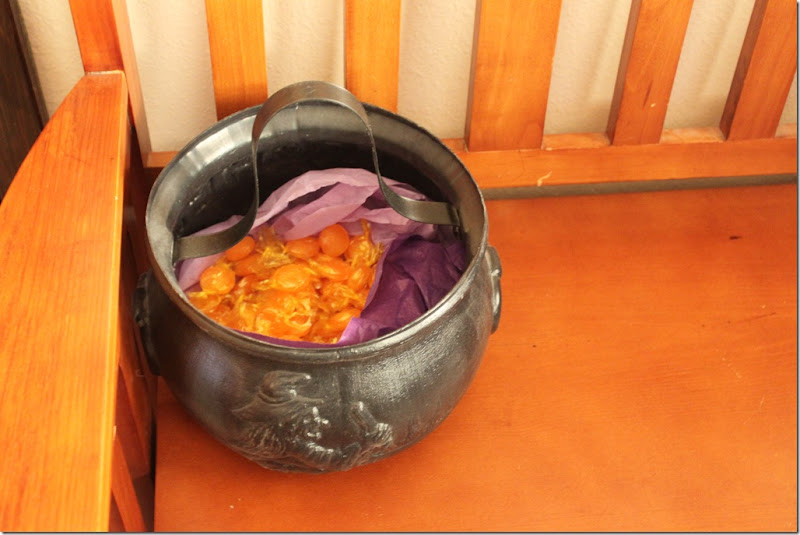
The kids each came in, were given a handful of gold galleons (butterscotch candies) from the cauldron8-11 Summer & Party 1882
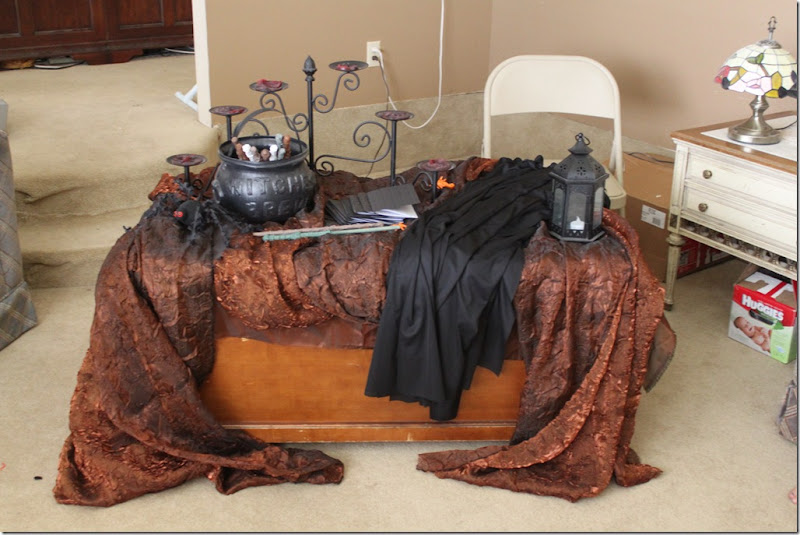
and sent to buy their wands, robes and class schedules from Ollivanders.
8-11 Summer & Party 18848-11 Summer & Party 1886

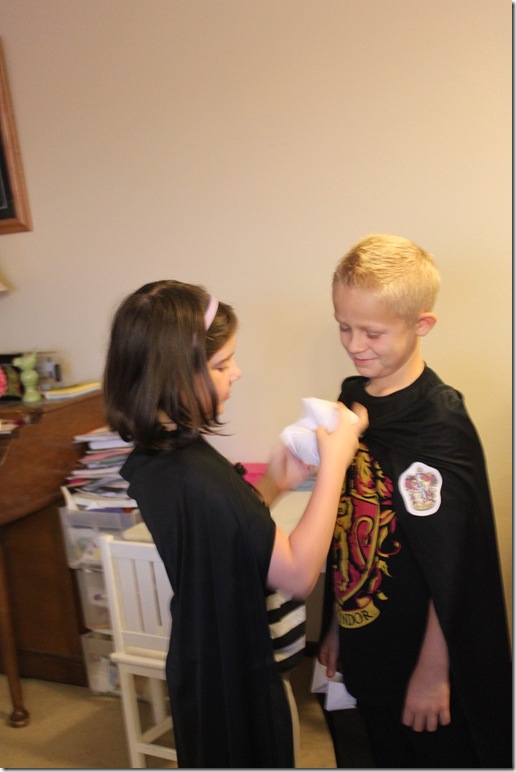
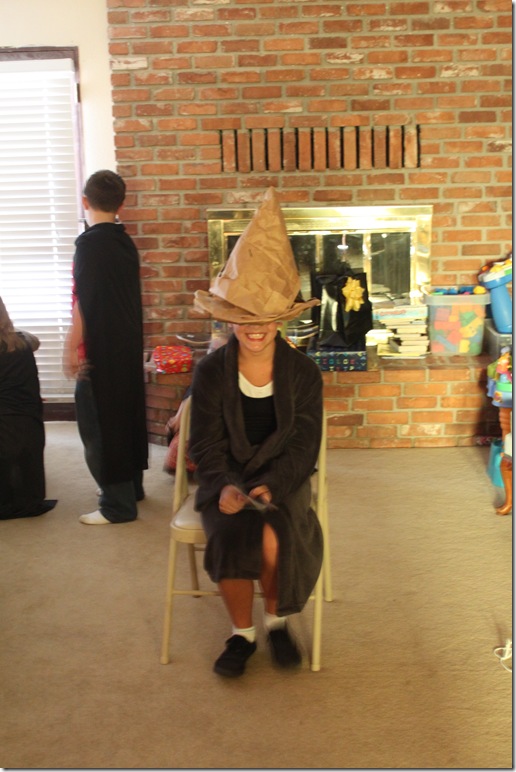
They were sorted into houses and given badges to attach to their robes. When everyone was in their new house,we went to class.
8-11 Summer & Party 1913

First was transfiguration, turning a clay cup into an animal. Then on to Divination where they each made a Fortune Teller and told one another fortunes. They did a great job and got a kick out of telling one another’s future. I remember there was a lot of impending doom foretold.
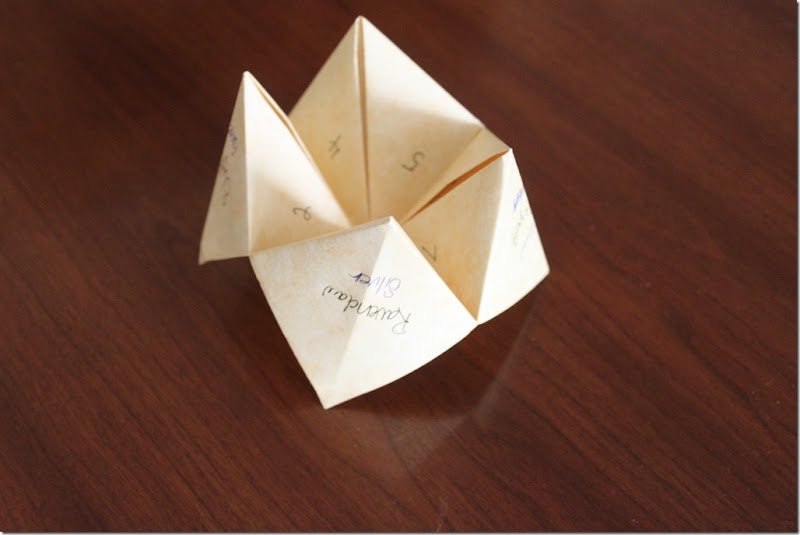
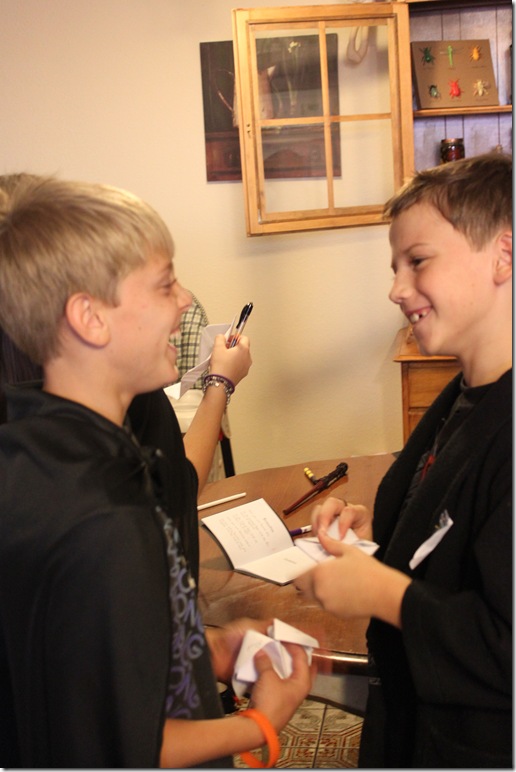
9-11 pics 0038-11 Summer & Party 19658-11 Summer & Party 1971

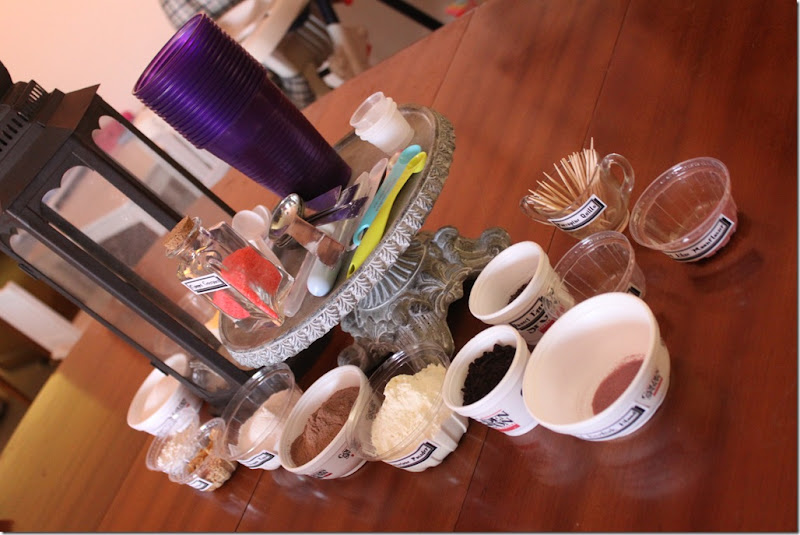
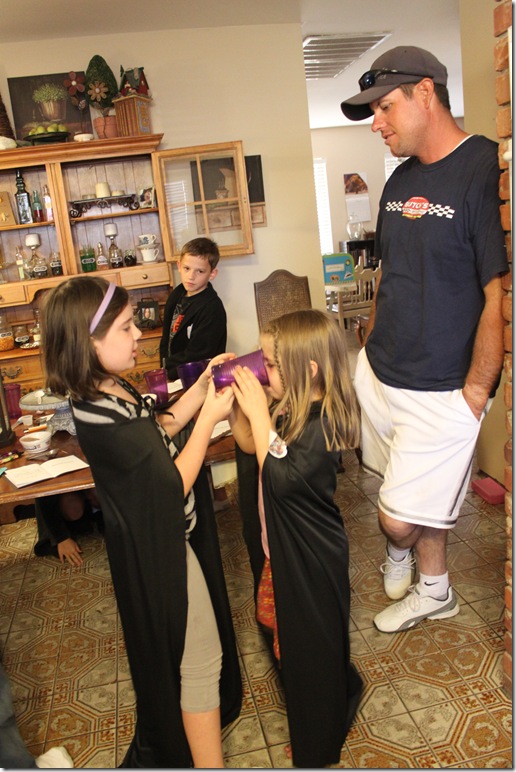
Potions was next. Our potion ingredients were all simple and edible from Kool-Aid to pudding powder. I wanted to be sure we worked with safe ingredients. The directions  for each of their potions were written in their class schedule 9-11 pics 0248-11 Summer & Party 1911
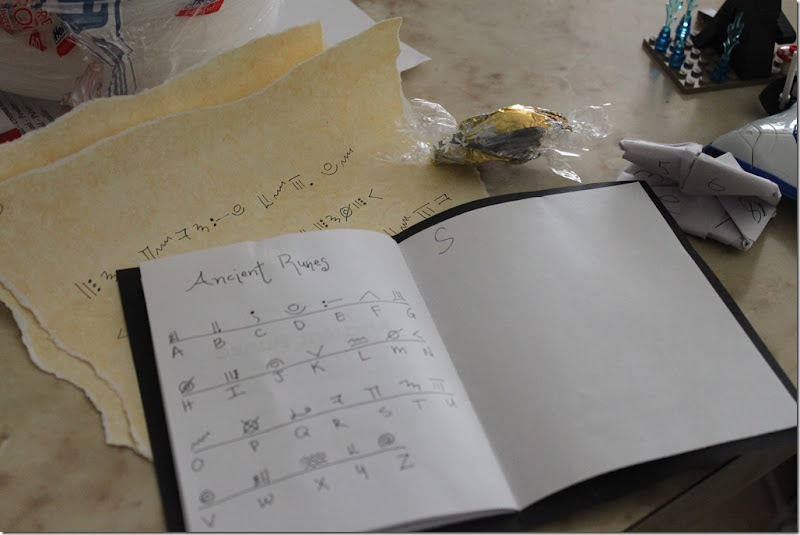
and they had to make three different potions and taste them. Their cauldrons were large purple cups for easy disposal. Some Wizards in Training were more careful than others, but all enjoyed the process of mixing, adding ingredients and trying the final concoctions. I think adding Pop Rock crystals to one of their final potions was a true hit. The bubbling and fizzing really made their day! This was their favorite class!
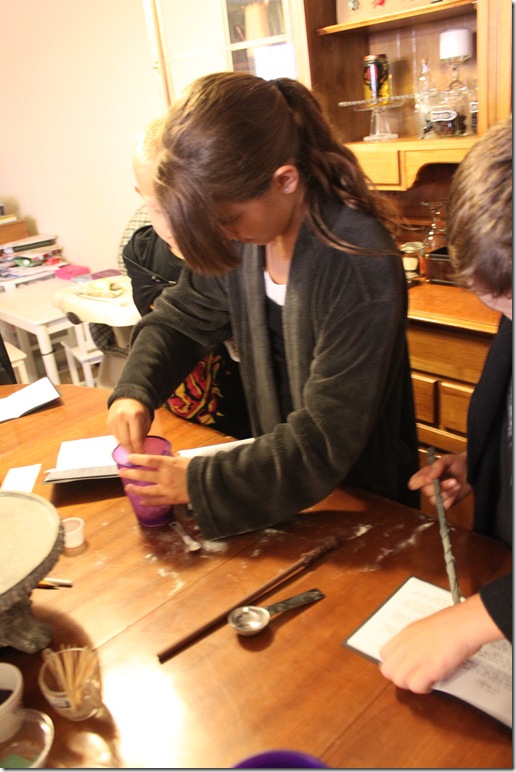
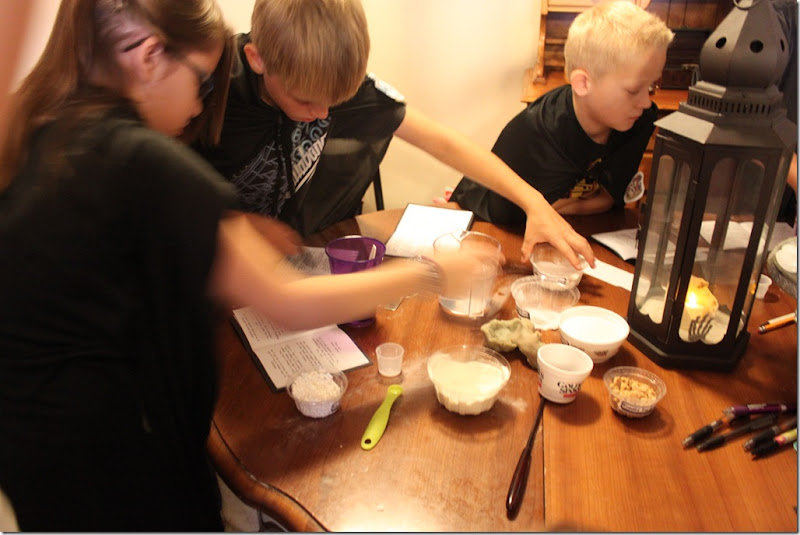
8-11 Summer & Party 19888-11 Summer & Party 20018-11 Summer & Party 2035

Their final class was Ancient Runes where they had to translate the ancient text to find clues to their next activity. That activity was the feast!
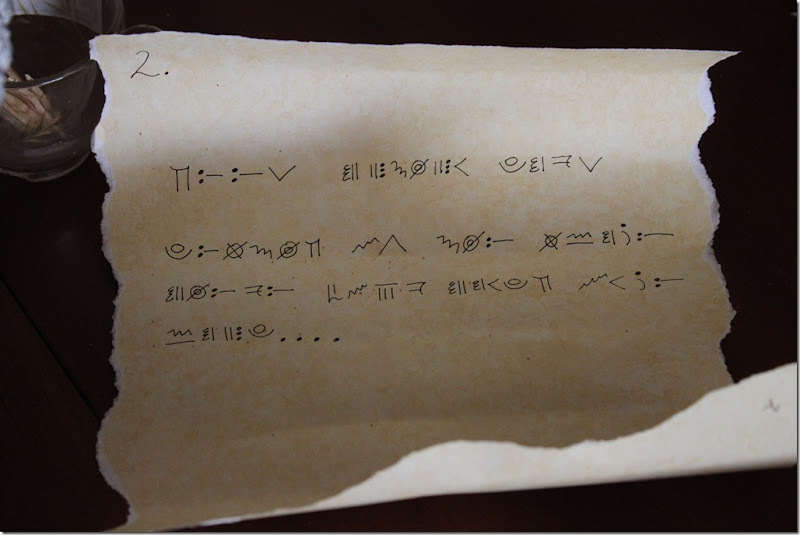
9-11 pics 022

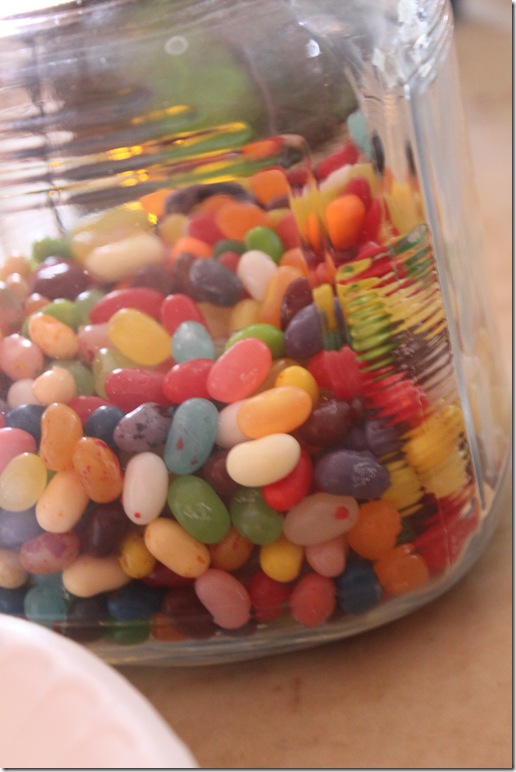
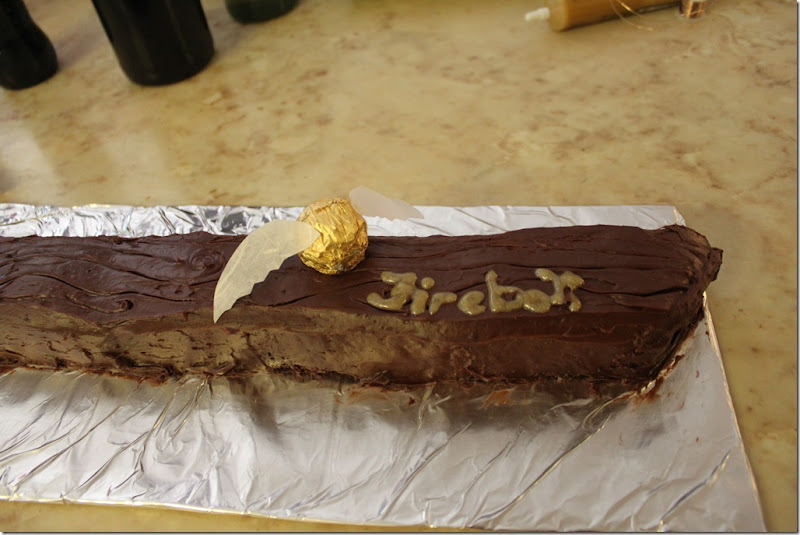
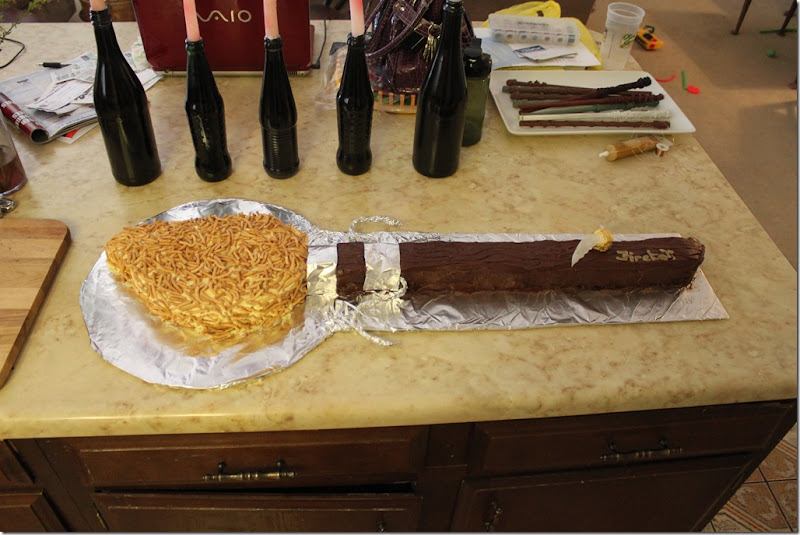
We sang Happy Birthday, had butterbeer, licorice wands, Bertie Botts Beans, chocolate frogs, and ate the Firebolt cake!
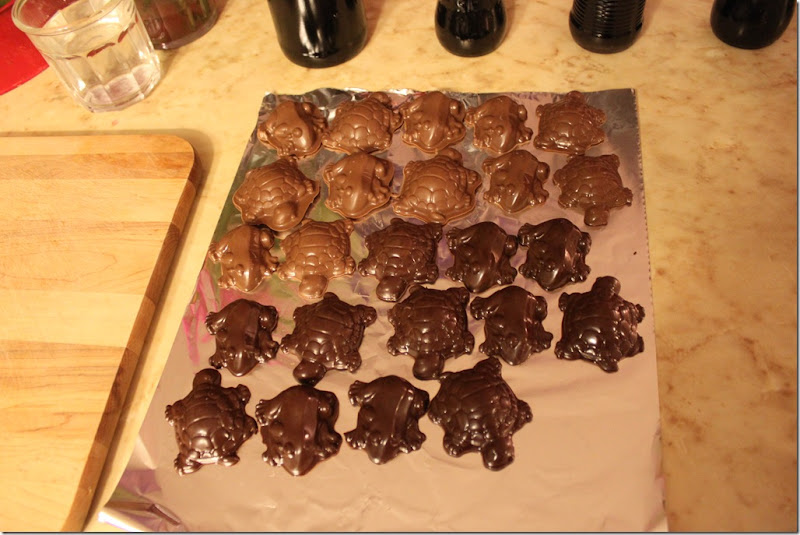
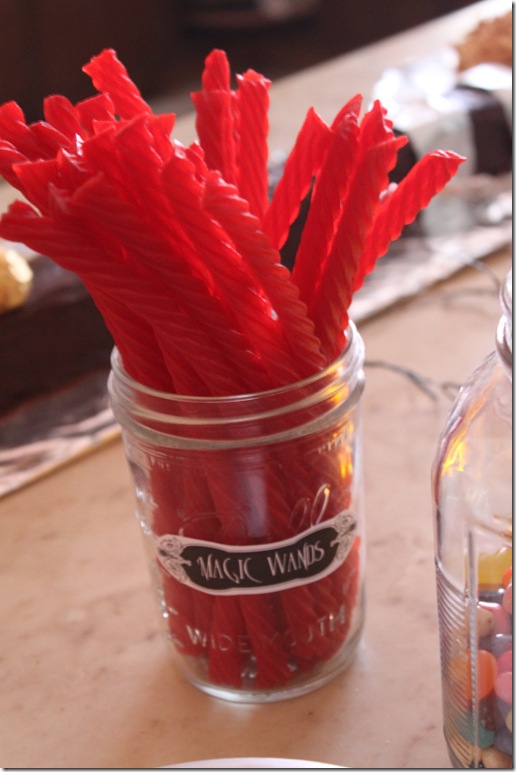
8-11 Summer & Party 18338-11 Summer & Party 19048-11 Summer & Party 19038-11 Summer & Party 19058-11 Summer & Party 18708-11 Summer & Party 1871

I think the beans were the most fun. Everyone took chances, getting good and not so good flavors. It is the height of entertainment to listen to 9 year olds talking about their bean selection. Ha ha!

Our final activity was Muggle Quidditch. Oh it would have been great fun if we could find a way to play the real way, but we had to settle for a variation on soccer with golden chocolate snitches being thrown in at random for the Seekers to find and catch. Everyone got a chance to be a Seeker and catch their own little snitch. We have some magnificent Seekers!

We wound down by opening presents and practicing spells with one another.

I have to admit, I probably had even more fun than the kids creating the class schedules, the wands and the décor. I hope this gives you some great ideas to take off from if you’re planning some Harry Potter fun. Several adults asked me if they could come, so I think that even adults would love this theme if done well (me being one of them!).

Thanks again to Emily for having me. I’m knee deep in publishing my first book “Nowhere Else to Run” so you’ll be hearing lots more from me soon! You can check in on my progress and read my latest work at Christenehouston.com. Until then, Happy Party-making!

Thank you Christene!  Now I want to throw a Harry Potter party for ME!

Let’s all show Christene some love by leaving her some comments!

9.09.2011

OREO CUPCAKES {Recipe}

My oldest son turned 17 last week.  Seventeen!!! I am feeling old!  I cannot believe it.  I was 17 when I had him!  He is a senior in high school and is actually going to a special school this year where he takes college classes and gets dual credit for HS and college!  So, he is seeming very grown up and I am having a mid-life crisis, lol!

Anyway, my brilliant mother had the idea to throw him a surprise party for his b-day.  So, we did!  It was great!  He had no idea!  We had a BBQ and pool party.  I didn’t really know how many kids to expect.  We just put the word out there and invited a bunch of his FB friends and told them to invite his other friends.

So, I decided I better make a bunch of cupcakes for dessert!  I made 6 dozen Oreo Cupcakes the morning of the party.  Amazingly, it only took me about 3 hours, including cleaning up!

IMG_6527

Now that’s a lot of cupcakes!

They were very yummy.  Here is what I did:

Cupcakes:

Mix up a white cake mix (I used Duncan Hines) according to package directions, except add 1/2 c. Daisy sour cream (Daisy is the best because it doesn’t have any funky ingredients).

Once it is mixed, add 2 cups Oreo cookie pieces.  I bought mine at Smart and Final.  They come already broken up.  Or you can just break up some Oreos in a zipper bag with a rolling pin.  Stir to combine. 

Use a paring knife to separate the two sides of an Oreo, leaving the crème on one side.  Place the Oreo side with the crème with the crème side up in a cupcake liner in your cupcake pan.  Add your batter on top of the Oreo to 2/3 full.  Bake according to cake mix directions.  The key to good cakes and cupcakes is to not over bake so that they aren’t dry.  Cakes are done when they barely spring back when touched lightly with your finger.  It doesn’t have to spring back completely, just half way.

Remove from oven and allow to cool completely before frosting.

Here is the frosting recipe I made.  It is HUGE, for about 80 cupcakes, so divide it if you aren’t making cupcakes for an army.

  • 1 pound butter, room temp soft
  • 8 oz. cream cheese, room temp soft
  • 2 regular jars marshmallow crème (You could make it without this.  I’m not sure it really added anything but it sounded like a good ideaSmile)
  • 2 tsps. vanilla
  • 2 Tbsps. cream
  • 4 pounds powdered sugar
  • 2 cups superfine Oreo crumbs without the crème.  They need to be small enough to go through a sieve if you are going to pipe your frosting with a star tip.  They can be a little bigger if you are using a round tip and as big as you want if you are putting the frosting on with a knife.  You can use a food processor to make them small, or just a rolling pin and zipper bag.  Just put them through the sieve to make sure they are small enough.

With the paddle attachment of a stand mixer, cream together the butter, cream cheese, and marshmallow crème.  Add the powdered sugar.  Add the cream a little at a time to get to the desired consistency.  If you add too much it will be too thin to pipe and have it hold its shape.  You can test in in the bowl.  Just pull some up into a peak with a knife or the back of a spoon and if it holds its shape pretty well it is thick enough. Add in the Oreo crumbs and mix to combine.

To pipe these ones, I just used my coupler in a pastry bag.  You could also use a large round tip, like 1/2” diameter.  Just hold the bag vertical in the center of the cupcake and start to squeeze.  Move it in small circles to spread it out a bit as you pipe.  You will see.  It is easy.

Garnish with an Oreo, half an Oreo, or mini Oreo.

IMG_6534

IMG_6531

6.29.2011

FLOUR FROSTING {Recipe Review}

Well, today I decided to spend some time with my 4 year old making some cupcakes in a jar.  We made these from a white cake mix.  We simply made the mix according to package directions, divided the batter into 3 equal parts, tinted one red and one blue, and layered the colors into jars sprayed with cooking spray.  I used a cookie scoop to put the batter into the jars, but had to use a baby spoon to spread out the white and red batter.  It would probably work better to put the batter in pastry bags or Ziploc bags with the corner cut off and pipe it into the jars in even layers.  We baked them on a cookie sheet for 25 minutes or until they sprung back a little when gently pushed in the center.

NOTE: I used 1 cup wide mouth jars.  I think I am in love with these jars and will be making more things in them.  They are just soooo cute!

Here they are before they were baked:

IMG_5851

IMG_5855

Here they are after:

IMG_5859

I left them on the counter to cool and this is what happened, compliments of my two year old:

IMG_5860

Here is how he got up there:

IMG_5862

He is a stinker.  Good thing he is super cute:

IMG_5887

Well, I went looking for a recipe for some new kind of frosting so I could try out something new. I came across a recipe that uses flour several times and everyone was raving about it.  I read many different versions, but decided to use the one I found HERE on The Girl Who Ate Everything.  I think she got it from The Pioneer Woman.

IMG_5865

I had my doubts that it could REALLY be as good as everyone claimed.  But I decided to put the recipe to the test.

Here are my notes on making it:

1.  Add the flour to COLD milk in a COLD pan and make sure it is fully whisked together before turning on the heat-this helps avoid clumps.

2.  When you cook the milk and flour together it will get REALLY thick…like the skin on a pudding thick.  That is ok.  Just don’t burn it.

3. Beat the butter and sugar together for a LONG time, like 5 minutes.  Be sure to scrape down the bowl several times.  If you don’t mix it long enough, you will have grainy sugar in your frosting.

4. It doesn’t take as long to cool the flour mixture down as you think.  Stick it in the freezer while you beat the butter and sugar and it will be done when you are ready for it.

5.  Beat the flour mixture with the butter mixture for another 5 minutes.  It won’t ruin it.  You can’t overbeat it, I don’t think.  It just makes it silkier.

IMG_5873

Well, I have to admit this is a really good buttercream.  I am not a fan of most buttercream frostings….too sweet for me.  But this one is not as sweet as most.  It has a very smooth and silky texture and is a little lighter in feel than a traditional buttercream.  I think it would lend itself well to some fruity flavors, like lemon or a raspberry puree.  I read that a lot of people have problems getting it to turn out.  I had no problems.  It was pretty easy.  I think the key is just to beat everything really well.  I will say it has quite a buttery flavor.  I think it might be better if it had 1/2 c. more sugar. But then maybe all the sugar would not dissolve.  But it was ALMOST too buttery  I wonder how it would taste on chocolate cake.  Probably pretty good.

I prefer cream cheese frosting, but you can’t ALWAYS use it so this is a good substitute.  Give it a try and let me know what you think!

CAUTION:  This frosting MIGHT make your kid look like this: 

IMG_5883

Related Posts Plugin for WordPress, Blogger...
 
Blogging tips